- Workshops
- Participant Funding
- Application Form
- Participant Projects

How to Geocode Addresses |
||||||||||||||||||
|
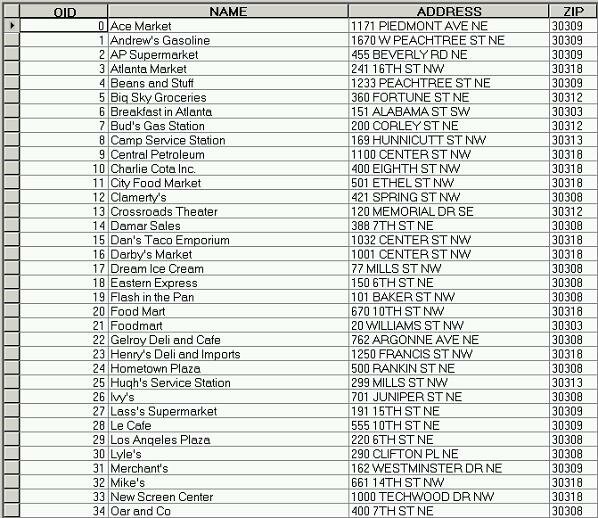
Keywords: Geocoding, geocoding services, geoprocessing, geodatabase, address matching, address number, locations, representations, reference theme, street, street name, zones, zip code Category: Geocoding Software: ArcGIS 8/9.x Problem: I have a list of locations of armed robberies, how do I display these locations onto a map? Description: Geocoding is the process of matching a particular address with a geographic location. This is done through matching records in two databases, one containing a list of addresses, the other containing information about a street network. The geocoding tool will match a given address with its unique position within the street network. Since the street network will already have been located in geographic space with reference to some coordinate system, assigning a given address on the street network also has the effect of locating that address in geographic space as well. Scenario: A criminologist wants to map the reported cases of armed robberies on businesses in Atlanta, Georgia, in order to reveal spatial patterns in the robbery data that may shed new light on the phenomenon. Such information can be used to predict future crimes or even as evidence against a known suspect. The criminologist is working with two files. One is a table of victimized business addresses and the other is an Atlanta, Georgia street shapefile.
3) Right-click on this table and select Geocode Addresses. 4) Select a geocoding service to use, then click OK.
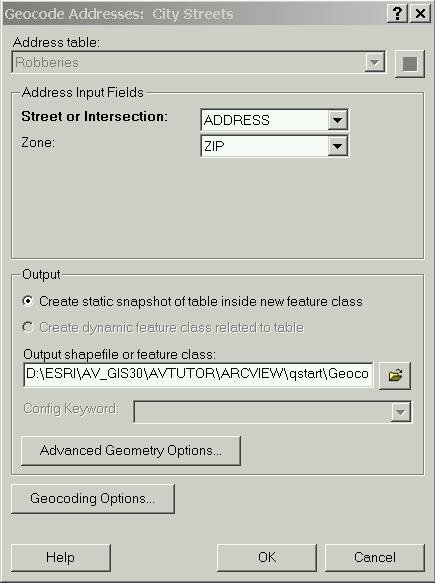
-If no services are shown, then click Browse for service. -If the desired geocoding services are still unavailable, they must be created. See "Creating a Geocoding Service/Address Locator". 5) In the Geocode Addresses window, the Address Input Fields should have been automatically set based on the geocoding service. If not, click on the dropdown list to choose the name of the column that has the correct address attribute.
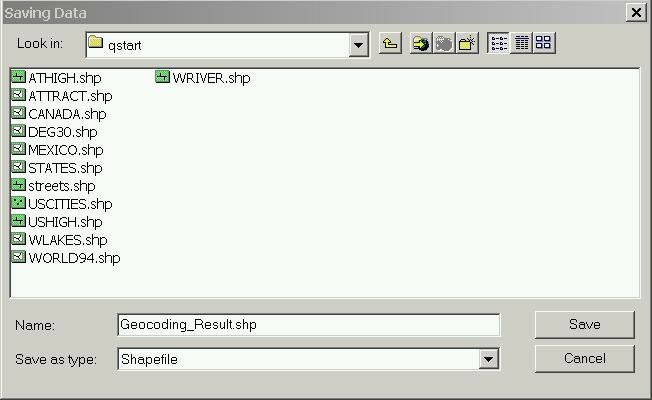
6) Under Output shapefile or feature class click on the folder button to navigate to the folder in which you want to save your output file. Name this file, then click Save.
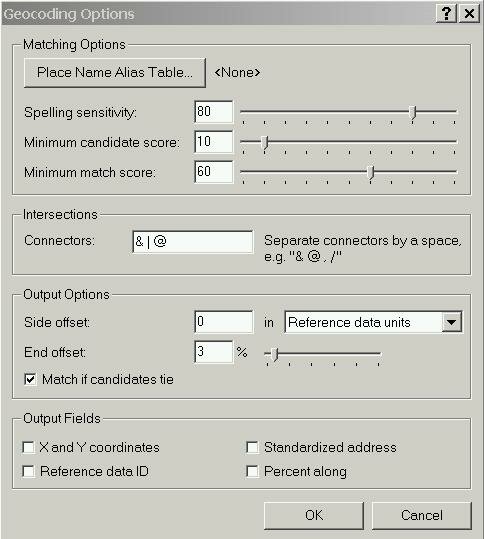
7) Click Advanced Geometry Options if you want to set the output coordinate system to something other than the coordinate system used by the reference (street) data. 8) Click Geocoding Options if you want to modify the settings used to match addresses to the street database. See "Creating a Geocoding Service/Address Locator" for more information on these settings. See Pitfall 2
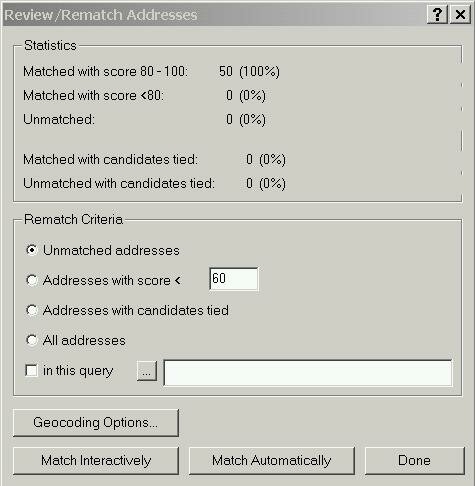
9) Click OK on the Geocode Addresses window to begin the address matching process. 10) After processing, a window will report the address matching results and provide an opportunity to re-process unmatched or poorly matched addresses.
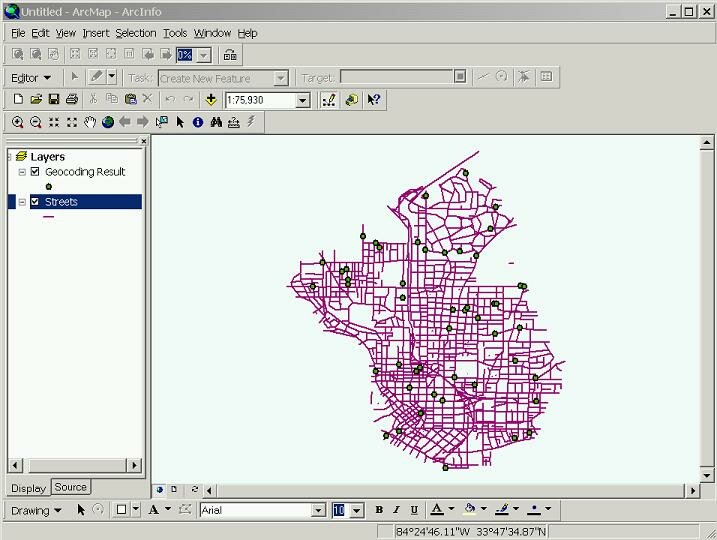
11) Clicking the Match Interactively button opens a window that allows you to review the unmatched addresses one at a time. The unmatched addresses are shown in the upper half of the window. The selected address is highlighted in blue. The way the software parsed the selected address into individual address components is shown in the middle of the window and candidate street segment matches are shown at the bottom. If there is an obvious mistake in the way the address has been parsed, click the Modify button to fix the mistake. After fixing the mistake, an updated list of candidate street segments should appear. If one of these candidates is an acceptable match (note the Score value, with 100 being a perfect score), highlight the street segment and click Match. 12) Repeat the review process for each unmatched address, then click Close. 13) Click Done to finish the geocoding session. 14) To display your geocoded result, open ArcMap and add this file. Here is an example of the final product.
Pitfalls:
Links: |
||||||||||||||||||
| Authored by: Carlin Wong Modified: 4/4/05 |


